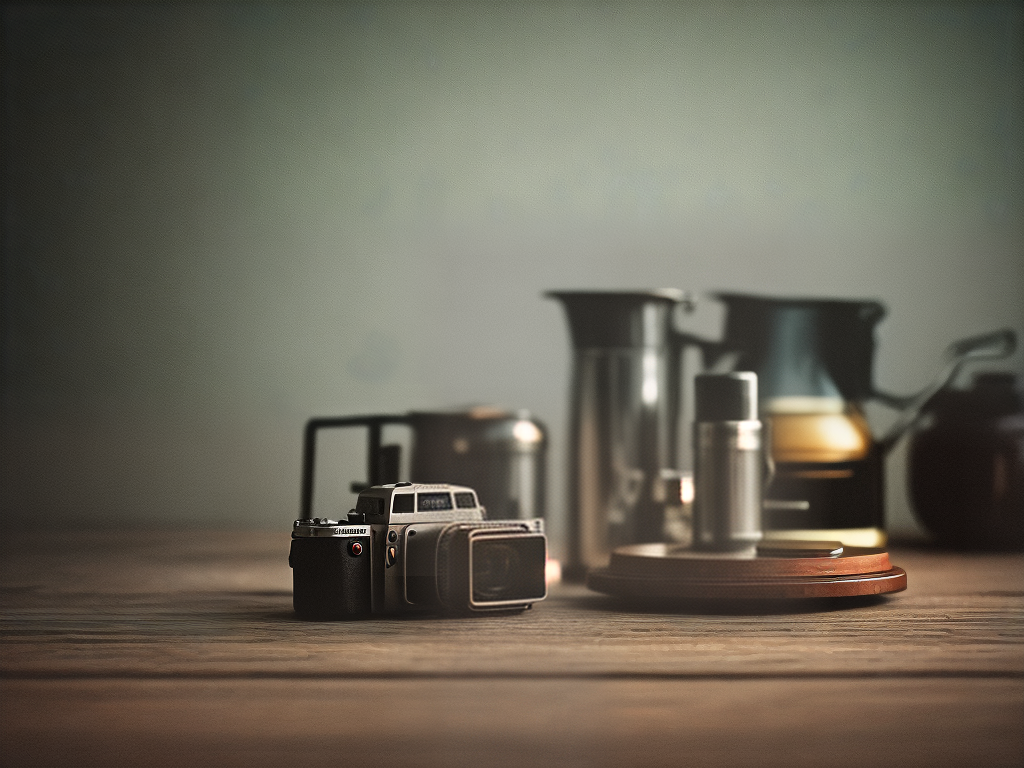


In the digital age, vintage photographs are making a big comeback. With Photoshop, you can easily create your own awesomely aged effects and make your photos look like they’ve been around for decades! If you’re interested in learning how to bring an old-timey feel to any of your shots, this article has got you covered. We’ll walk through all the steps necessary to transform even the most modern photo into something that looks totally timeless. So get ready – it’s time to dive into the world of vintage photography!
Understanding The Basics Of Vintage Photography
The vintage photography effect is a popular style that evokes nostalgia and brings back memories of days gone by. To create this classic look, you’ll need to understand some basics about the technique. Vintage photos typically incorporate muted colors, soft lighting, and grainy textures. It’s also common to use filters or toning techniques to add an aged feel.
When shooting for a vintage look, it helps to keep your camera settings simple; choose aperture priority mode, lower ISO levels and exposure compensation if necessary. Additionally, try experimenting with different lenses such as wide-angle or telephoto lens for unexpected effects. You may find that natural light lends itself better than artificial lights in achieving the sought after vintage look.
Using certain props can also help make your photo appear more authentic and give it a timeless quality. Try opting for items that have a rustic aesthetic or are reminiscent of older times like typewriters, cameras or even old books! Utilizing interesting textures in the background can further enhance the composition and draw attention to important elements in the image.
Armed with these tips on capturing an original shot, let’s move onto preparing your photograph in Photoshop – which will take us one step closer to creating our desired result!
Preparing Your Photograph
The process of creating a vintage photograph effect in Photoshop is like traveling back in time. It’s an opportunity to take something old and make it new again, giving the image an timeless quality that stands out from modern photography.
To start this journey with your photo, you’ll need the following: 1) An editable digital version of your photo 2) Access to Adobe Photoshop 3) A creative eye 4) Patience
Opening up your chosen photo in Photoshop can be intimidating at first. But if you trust yourself and have fun experimenting, you’ll find there are endless possibilities for transforming your image into a classic masterpiece! You can use different color adjustment techniques or play around with filters until you get just the look you want.
Once you’ve achieved the desired result, save your file as a copy so all of your hard work won’t go unnoticed. With one final touch – adding sepia toning – we’re almost ready to finally call our project complete.
Adding Sepia Toning
Now it’s time to take your vintage photo effect up a notch. We’ll be adding a subtle sepia toning to our photograph, allowing us to achieve the classic look of an old analog print.
This is all done quickly and easily with Photoshop’s built-in tools. Here’s what you need to know:
| Action | Tool Needed |
|——–|—————–|
| Select Image | Magic Wand Tool |
| Adjust Color | Hue/Saturation Slider |
| Balance Colors | Levels Tool |
The first step is selecting the image itself. You can do this by using the magic wand tool in photoshop. Once selected, go ahead and adjust the hue and saturation slider until you get the desired color tone for your vintage photo effect. Lastly, use the levels tool to balance out any inconsistencies in light or dark tones throughout your image – this will give it that extra polished look!
By combining these simple steps together, you can create a beautiful vintage photo effect without much effort at all. Now let’s explore how applying some grain can further enhance our final product!
Applying Grain
Applying grain to a photograph is a great way to give it an authentic vintage look. The effect of the grain on the image can vary greatly depending on the size and strength you choose. One of the benefits of applying grain in Photoshop is that it allows users to create a realistic, aged-look without having to use any physical filters or lomography equipment.
Here’s how you do it:
- Begin by duplicating your layer so that no changes are made directly to your original.
- Select Filter > Noise > Add Grain from the menu bar and adjust sliders for Amount, Size, and Roughness until you get your desired result.
- Then go to Image > Adjustments > Levels and make adjustments until you reach the exact level of contrast you want for your photo.
Adding grain helps replicate various classic film stocks like Kodak Tri-X 400T or Ilford HP5 Plus which were both popular black & white films used by photographers in decades past. When applied correctly, this technique will help add texture and depth to your images while also providing them with a timeless quality.
Vignetting – darkening the corners around an image’s edges – is another tool frequently used by professional photographers when creating vintage effects. This step further enhances the moodiness of a photograph while adding more authenticity to its overall aesthetic appeal; whether subtle or dramatic, vignetting can be an incredibly effective way to finish off a retro looking picture!
Vignetting Your Image
Vignetting your image is an incredible way to bring out vintage vibes. It’s like a time machine for your photos! To create the effect, open up Photoshop and select the ‘Curves’ tool in the adjustments panel. Drag down the right side of the curve so that it darkens around the edges. You can make this transition as subtle or intense as you’d like – just use your eye to judge how much vignetting looks best on your photo.
Next, let’s add some coloration to further enhance our vintage feel. Select ‘Color Balance’ from the adjustment menu and adjust both shadows and highlights until you achieve a slight tint across the entire image. Then, drag down saturation levels until they are slightly muted compared to before – less pop gives more nostalgia!
Now we have all of those pieces in place; however, sometimes vintage images look too perfect which doesn’t quite fit into what we’re striving for here. So try adding some noise by selecting ‘Add Noise’ from within Filter>Noise and setting it at 10% or above depending on taste. This will give our image some extra depth without looking overly processed.
By adding these elements together with careful consideration, we can create stunningly unique effects that draw viewers back in time with every glance. Now onto creating a soft focus effect…
Adding A Soft Focus Effect
Now that you have a vignette frame for your vintage photograph effect, it’s time to add the soft focus. This technique is all about creating a blur so subtle and beautiful that it gives the image an ethereal quality. To do this, we’ll need to use three Photoshop tools: Gaussian Blur, Smart Blur, and Unsharp Mask.
Here are four steps to get started on adding a soft focus effect with these tools:
- Step 1: Duplicate the layer you’re working on in order to keep the original work intact.
- Step 2: Select Filter > Blur > Gaussian Blur and adjust accordingly until it looks right.
- Step 3: Select Filter > Blur > Smart Blur and adjust accordingly until it looks right.
- Step 4: Select Filter > Sharpen > Unsharp Mask and adjust accordingly until it looks right.
Once you’ve adjusted each of these settings, try using different blend modes like Soft Light or Overlay in order to make sure everything blends together nicely. Experimenting with different opacity levels can be helpful too if needed. It might take some trial-and-error but once you find just the right combination of effects your vintage photo will look truly stunning! With that said, let’s move onto creating a textured overlay for our next step toward creating an authentically retro feel…
Creating A Textured Overlay
To create a vintage photograph effect in Photoshop, the first step is to add a textured overlay. This creates an aged feel and adds depth to your image. To achieve this look, think of it like adding layers – each one enhancing the overall appearance of the photo.
Adding texture can be done by utilizing filters or overlays available through Adobe programs such as Lightroom and Photoshop. Utilizing these tools will allow you to craft a unique look for your work that reflects your personal style. Whether you are looking for subtle hues or dramatic effects, there are plenty of options to explore when creating a vintage-inspired aesthetic.
When selecting textures and filters, pay attention to both color palette and detail level. A muted pastel tone with simple patterns often works best for achieving an old-fashioned feel without detracting from the primary subject matter within the image. Additionally, consider whether certain elements should remain crisp or if they could benefit from being softened out slightly with grainy tones and light noise levels.
Finally, experiment with different combinations until you find something that speaks to you visually – don’t worry about getting it right immediately; take some time and enjoy the process! By playing around with various techniques, you may even surprise yourself by discovering a new layer of creativity previously unexplored, leading us seamlessly into our next topic: Adding paper textures for further sophistication…
Adding A Paper Texture
Now that your image has a wonderful texture, it’s time to take things further. To create the vintage effect, let’s add a paper texture to give your photograph an aged feel. This can be done by creating a new layer and filling it with any color you choose. Then place this layer above the textured layer and set its blending mode to multiply. After doing so, select both layers and merge them together for convenience.
Next we need to apply a filter called ‘grain’ in order to simulate sun fading on our vintage photo-effect. The grain filter works best when applied over the entire image rather than just one section or area of the canvas; so go ahead and turn up the opacity slightly for a more authentic look! Once you have finished applying the grain filter, adjust other settings such as contrast, highlights and shadows until you are happy with the overall result.
The next step is adding some subtle colors in order to enhance the photographs’ muted tones – this will really bring out those old school vibes! To do this, open up your hue/saturation adjustments window and start playing around with different values until you reach a desired outcome. Don’t forget: small changes can make all the difference! For example, try shifting blues towards greens or yellows towards oranges – these slight shifts can really help boost the effects of your vintage photo effect.
To finish off our creation we must address sharpness levels across our photograph – too much detail might ruin the vintage vibe we’ve been aiming for since day one! So open up ‘unsharp mask’ from within Photoshop’s Filters menu then carefully adjust various settings until you find something that looks pleasingly blurred yet still retains enough focus for viewers to appreciate what they see. And there we have it – now your retro-inspired masterpiece is ready for printing or sharing online!
Simulating Sun Fading
Simulating Sun Fading is a great way to give any photograph an aged and vintage look. By using this technique, we can make our photographs appear as if they have been exposed to the sun’s natural aging process. To do this, we will need to use some of Photoshop’s color adjustment tools.
An important factor in achieving a realistic effect is understanding how light affects colors on film over time. Light exposure causes colors to fade gradually from their original intensity towards white. This fading gives a subtle texture to the image that evokes nostalgia for old films and photos taken many years ago.
Using the curves tool in Photoshop, we are able to recreate this same effect with relative ease. We start by adjusting the midtones curve downwards until it has faded out all but the highlights of each individual color channel. Then we adjust each one individually, adding warmth or coolness depending on our desired outcome. Finally, we add contrast back into the overall photo by raising up its black point slightly while keeping its white point untouched.
By mastering these techniques, you’ll be well-equipped to create stunning vintage effects in your own photography!
Adding A Film Border
Adding a vintage film border to your photograph is the perfect way to make it look like an authentic, old-school image. You can give your pics that classic, timeless feel in just a few easy steps!
First, create a new layer and use the Rectangle Tool (U) to draw out an even frame around your photo. Fill this with whatever color you want – black works well for a bold touch, while lighter colors such as grey or white will be more subtle. Don’t forget to set the opacity of the background so that it won’t overwhelm the picture itself!
Next up is adding texture to your newly drawn rectangle. This will help further evoke feelings of nostalgia and sophistication in viewers. To do this, select Filter > Noise > Add Noise from the menu bar at the top of Photoshop’s interface. Then adjust settings until they suit your desired effect – higher levels produce grainier results which are great for achieving aged photos.
Finally, we’ll bring our vintage photograph effect together by adjusting its overall contrast and brightness levels. Go under Image > Adjustments > Brightness/Contrast and tweak these parameters until you like what you see on screen! Be sure not to overdo it though; too much manipulation could ruin all previous work already done.
- Nested bullet point list:
To evoke emotion in audience
- Use contrasting colors when creating frames around photographs
- Apply noise filter judiciously for added texture
- Subtle adjustments to contrast and brightness levels bring photo effects together
For innovation
- Utilize layers properly when building effects
- Play with different blend modes for unique looks
- Incorporate other tools like shapes and gradients for extra dimensionality
Subconscious desire
- Keep viewer engagement high through interesting compositions and unexpected yet pleasing edits
- Bring out details within dark areas or brighten shadowed regions with careful adjustment of curves tool
Now let’s move onto creating a toned border—a process that requires precision but yields stunning results.
Creating A Toned Border
Surprisingly, creating a vintage photograph effect in Photoshop is surprisingly easy! With just a few clicks, you can give any photo an authentic-looking aged appearance. To get started, let’s begin by adding a film border to the image.
To do this, start by selecting the Elliptical Marquee tool from the toolbar at the top of your screen and draw a circle around part of your image. Next, adjust the feather setting on your selection until it looks natural within the frame; usually between 10 – 15 pixels works well. Once that’s done, go up to Select > Modify > Expand and enter “10” into the dialog box that appears so that there’s some extra space around our selection. This will create a subtle but effective film border for our image.
Next, we’ll move onto creating a toned border for our photograph. First, make sure to deselect any active selections before continuing (Ctrl + D). Then select Image > Adjustments > Photo Filter from the main menu and choose one of the preset filters such as Cooling Filter 81 or Sepia Toning from the list and click OK to apply it directly to your image. You may need to tweak its strength using the slider on the right if needed but once you are happy with how it looks press OK again to confirm your changes.
This technique can be used to great effect when combined with other effects like vignetting or colorizing too – so don’t hesitate to experiment! With these steps mastered you will have no trouble achieving an impressive vintage look for all types of photos with ease! Now let’s take things further by adding faded edges for even more authenticity!
Adding Faded Edges
One way to give your image a classic and vintage feel is to add faded edges. This can easily be done in Photoshop with just a few steps. Here’s how:
- Select the layer that contains your image, right-click it, and choose Blur > Gaussian Blur. Set the radius of blur to 3 pixels or higher until you get the desired effect on the edges of your photo.
- Go back to Layers panel and click Layer Mask icon at bottom left corner of the window. You should now see a white box with black outlines appear next to thumbnail preview of your layer.
- Take Brush tool (B) from Toolbox and adjust its size so it fits nicely around edge of photograph. Then select black color for brush using Color Picker which will turn mask into hiding mode – painting in this mode will hide parts of blurred background from showing up in final result.
- Now start brushing along all edges of photograph where blurring was applied earlier; this will make those areas more distinct by removing blurry effect from them while preserving overall look intact elsewhere on image surface. With some patience, you can achieve exactly what you want in no time!
From here we move on to applying final touches that give our picture an extra bit of charm – like adding subtle vignettes or softening colors even further…
Applying Final Touches
Once you’ve got the basics of your vintage photograph effect down, it’s time to get creative and apply some final touches. Start by adjusting the Color Balance setting to give your image a warmer tone that is characteristic of older photos. You can also experiment with the Curves settings for greater control over contrast and highlights.
Next, consider adding texture. This will help bring out details in the image and create a more aged look. Try using an overlay layer set to Soft Light or Overlay blending mode which gives depth to your photo while still keeping its original colors intact. Finally, use a vignette as finishing touch – this helps draw attention away from any imperfections around the edges of your image and creates an overall softer feel.
Now that all the adjustments have been made, take one last look at your work before saving it. It might be helpful to compare it side-by-side with other examples of vintage photography so you can see how closely yours resembles them. With careful tweaking and experimentation, you’ll soon be producing images with a timeless quality!
Conclusion
To conclude, creating a vintage photograph effect in photoshop can be quite simple with the right tools and techniques. After you understand the basics of vintage photography, all that’s left is to prepare your photograph and begin adding effects such as sepia toning, grain, vignetting, film border, faded edges, etc. Finally, you’ll want to make sure everything looks realistic before applying any final touches.
Do you now feel more confident about creating a retro-looking image? With a bit of practice and experimentation, it shouldn’t take long for you to master this technique!


